Any type of preserving has always been extremely fascinating to me. I enjoy how you can use certain methods, like drying mushrooms, to make their shelf life substantially longer, but will still taste close to the same after rehydrating, or you can use a pickling method and transform a cucumber into a delicious, acidic pickle. There was one method in particular that really stood out to me though, curing with ash. I first discovered this from chef Magnus Nilsson of Faviken in Sweden who cured a quail yolk in the ash of sheep poop. Although this sounds far from appetizing, customers seem to enjoy it saying , “possess a burnt, grassy taste”. You can check out his menu at this link: https://willtravelforgoodfood.wordpress.com/2014/02/23/faviken-jamtland-sweden/
I thought about it and it makes sense. Ash not only has a unique flavour from whatever is was before it was scorched, but it’s high in Alkalinity. The alkalinity acts as a curing agent when applied to certain things, like yolks. I also knew that leek ash is applied to certain cheeses for not only flavour, but to help with the aging process. I decided to explore my curiosity and gathered ingredients from the St. Lawrence Market (Toronto) to make my own cured duck yolk.

(not pictured dried lobster mushrooms)
Instead of just doing a cured egg yolk, I wanted to make a dish out of it. My idea was to have rice (wild and parboiled dyed red from beet water), garnished with sliced scallions and dried lobster mushrooms (adding another preserving method to the dish). I chose wild rice because it’s one of few ingredients that a majority of people would consider ‘Canadian’. The dyed parboiled rice is to give a more vibrant look to the dish. I also discovered that leeks are not in season in Ontario right now (mid July), so for the ash I decided to use scallions/green onions which are a common substitute when it comes to flavouring. I chose duck eggs for the yolk because the yolk tends to be much more vibrant than most and also has a very rich ‘yolky’ taste. The idea is to serve the yolk on top of the rice so when you cut into it it would leak down, adding texture and a unique sauce to the rice.
Here’s how it went:

First I put two bunches of scallions in the oven at 350F for about 1 hour and 45 minutes. This will ensure that all the moisture is extracted and will begin scorch the scallions, being able to turn them into ash. As you can see the bottoms are removed. This is because you don’t want the roots in the ash. You wouldn’t normally eat the roots so you should hold the same standards when you’re turning something into ash because you’re still eating it. You can also use the bottoms, if the roots are attached, and put them in shallow water and continue to grow the scallion. You can probably get 2 more uses out of them!
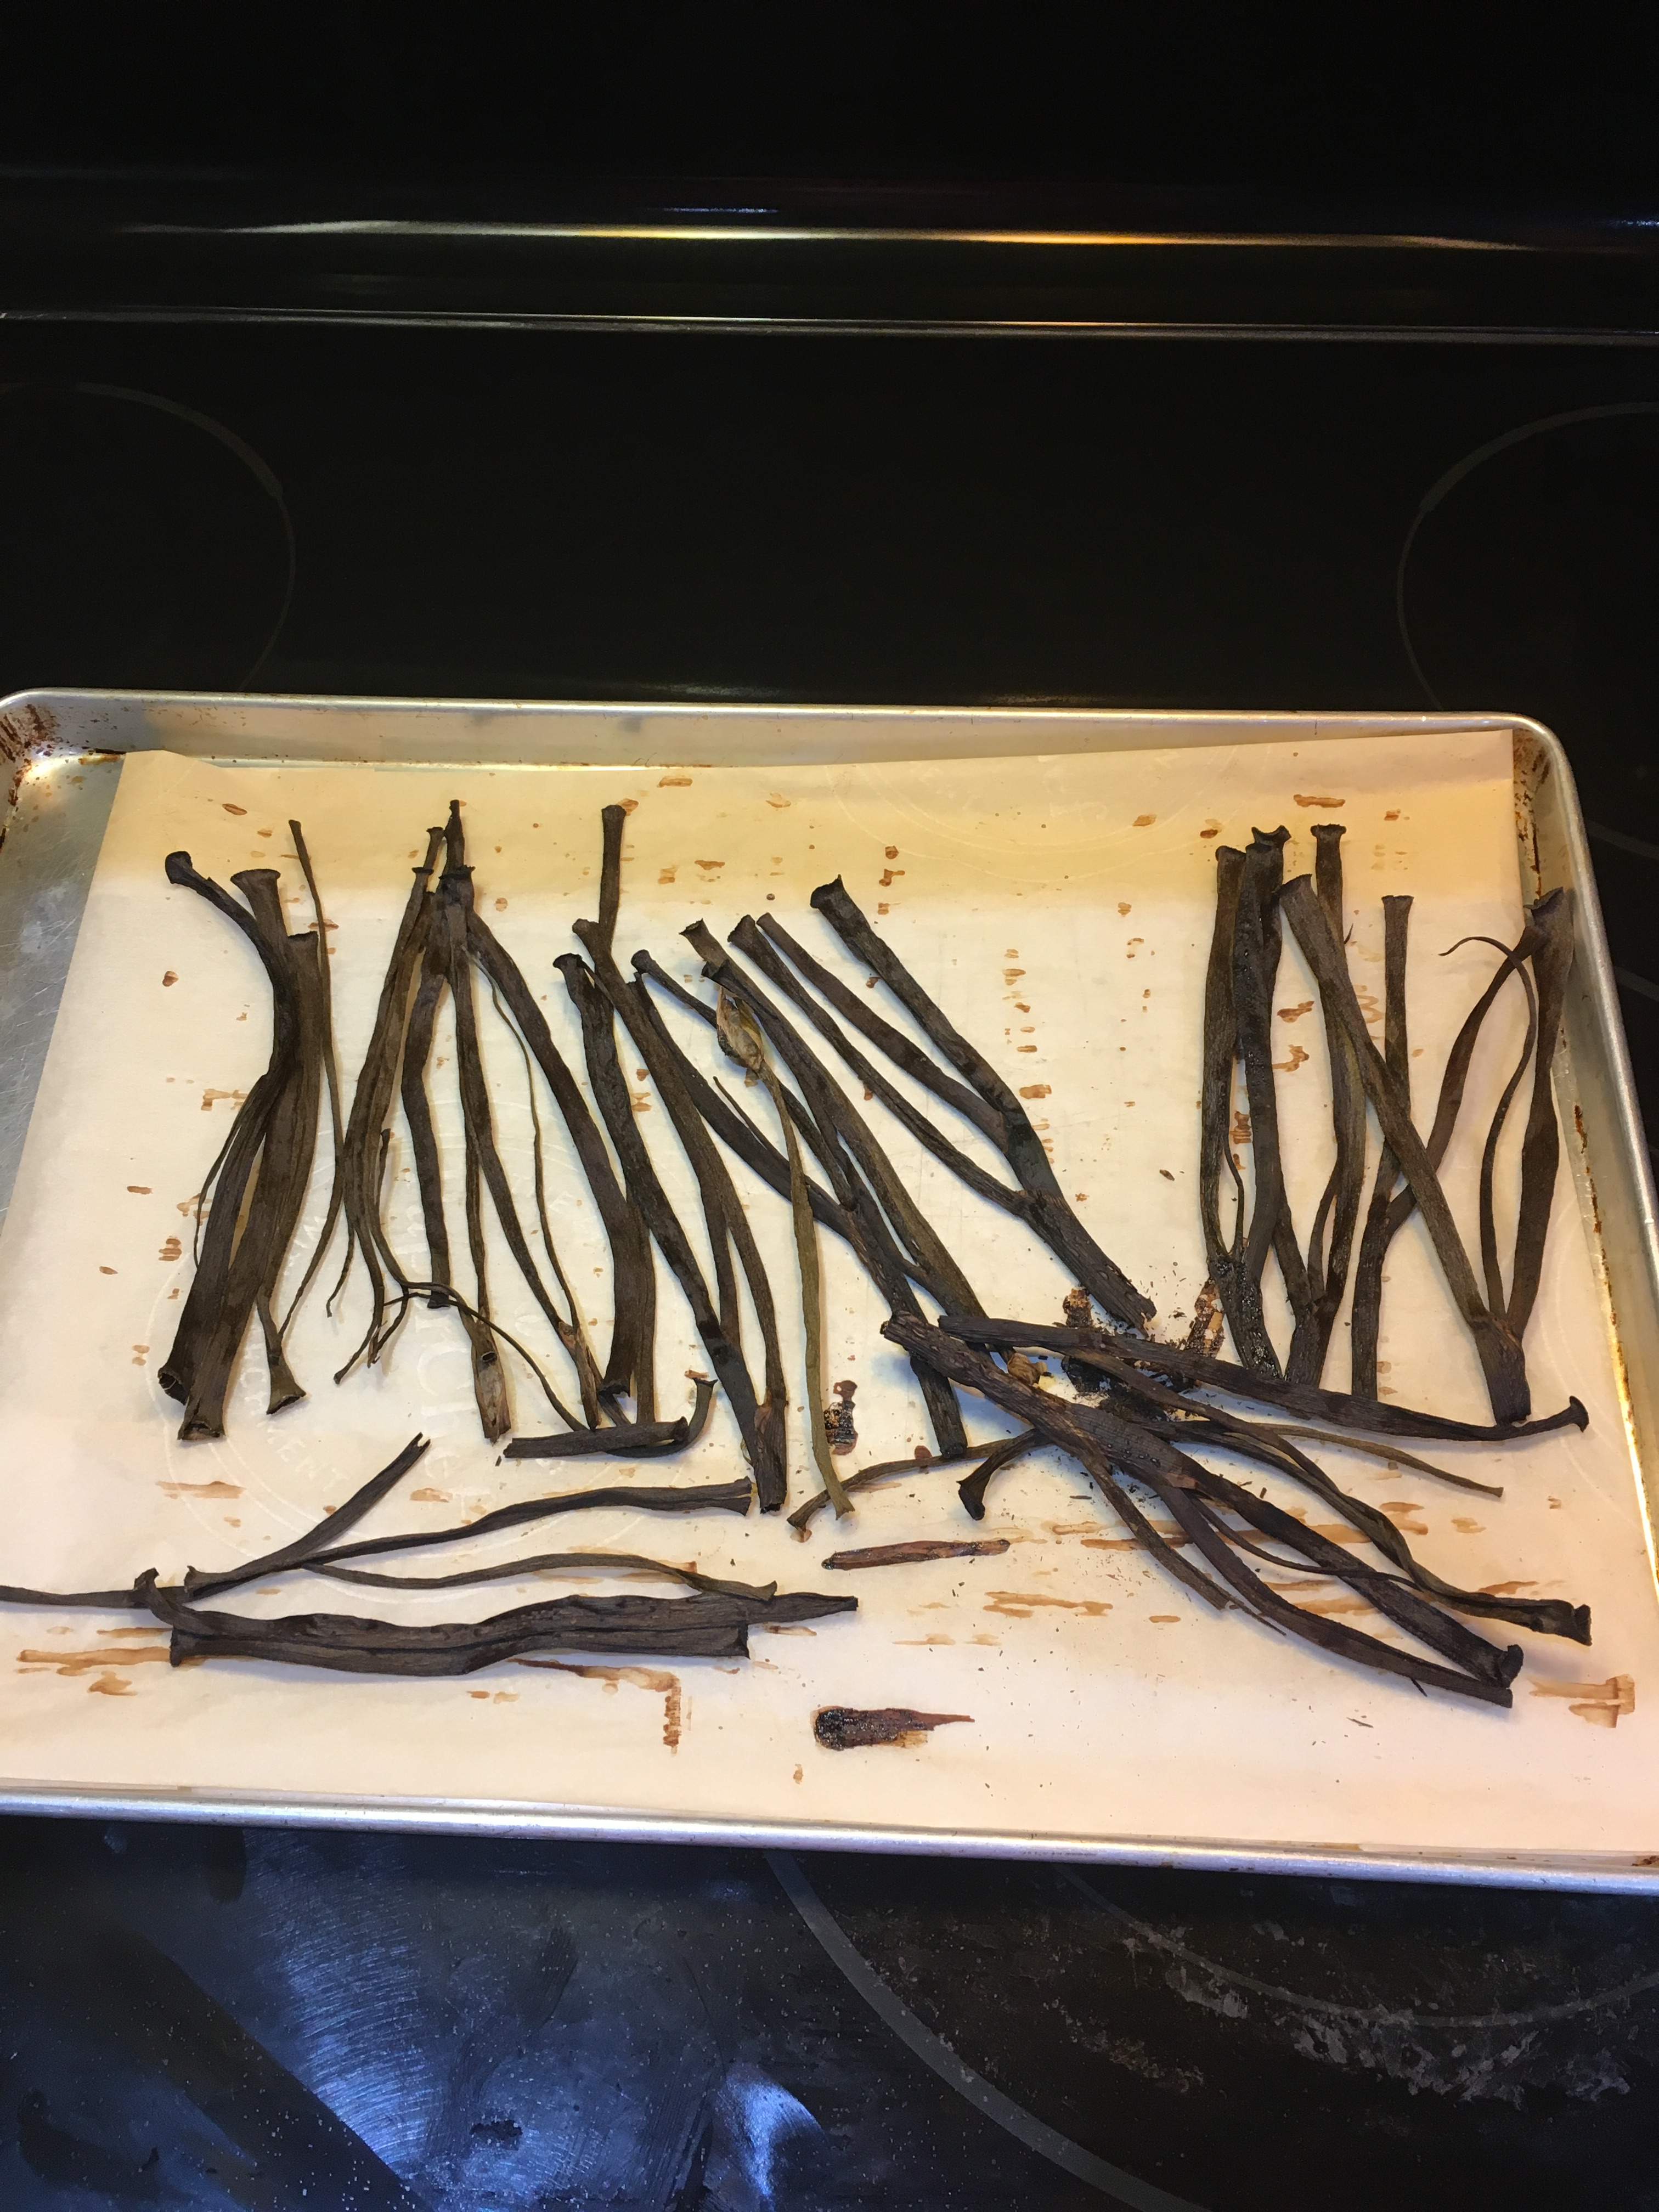
After the 1 hour and 45 minutes, you can see that the scallions are completely chared. Don’t be alarmed by the look, the smell great and taste even better. They kind of taste like seaweed and soy sauce- very umami.

Then I used a mortar and pestle to turn the scallions into ash. I added a ratio of 3/4- 1 Canadian sea salt salt to ash. I added the salt to aid in the curing process and to enhance the flavour of the ash.

Then I separated the white from the yolks. Make sure to save the whites because they’re still perfectly. I then carefully rolled the yolk in the ash/salt mixture until it was completely covered. I then covered it in a container and put it in the fridge for 24 hours.

It’s hard to tell in the photo, but after 24 hours in the fridge, a lot of moisture was extracted and turned the ash into a form of mud around the yolk, completely sealing it. If you would touch it, you will see it’s quite firm at this point.
After I was satisfied with the yolk, I made my wild rice (cook like pasta), and parboiled rice in beet water (to dye red). I then garnished with sliced scallions and sauteed lobster mushrooms. The presentation was beautiful. The ashened yolk looked very provocative. I was very happy with how it looked, but too much moisture was extracted, solidifying the yolk. The yolk was still very creamy, but it didn’t leak down as I suspected. The flavour was great- very umami, but a little too salty. Next time I would not add any salt to the ash as to get that extra yolky sauce element.
If you’re interested in what it looked like, click the following link: https://www.youtube.com/watch?v=USqcQuhczrs
